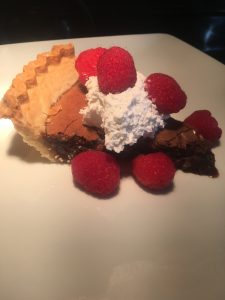
 You may be thinking to yourself, dairy free fudge pie? Is there such a thing? Well, yes there is! My sweet husband loves chocolate. He really, really loves chocolate. So when he was unable to tolerate dairy anymore, I had to get creative when it came to our desserts. One of our very favorites around here is homemade fudge pie. It’s easy, it’s delicious, and it’s chocolate. Need I say more?
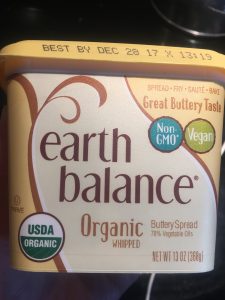
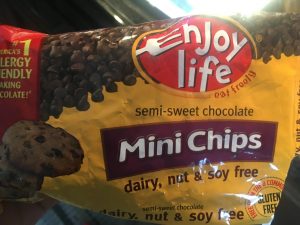
Now the key to making it dairy free is in your butter, pie crust, and chocolate. We prefer to use the earth balance vegan butter because I know for sure it is safe for both my husband and my son. For the pie crust, I tend to get a little lazy. You can make your own crust if you so desire but did you know that most of the frozen, ready to go pie crusts are dairy free? Yes, even the ones you can find at Wal-Mart are dairy free. Now, if you want to make this gluten free, just make sure your pie crust is GF and you should be good to go. Last, for the chocolate chips – “Enjoy Life” makes a very delicious semi-sweet chocolate that you can find in mini chip form at Whole Foods or often at Publix Supermarket. It is dairy free, egg free and gluten free.
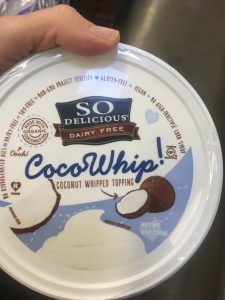
The one last tip to make this dairy free pie completely to die for is the coconut cream. Again, you can make this homemade if you like but I love the So Delicious brand of coco cream. You can find it at Publix and/or Whole Foods Market.
Ingredients
8 tablespoons of vegan butter
2 ounces of dairy free semi sweet chocolate chips (I like the mini chips)
2 eggs, beaten slightly with a fork
1 cup of sugar
1 ready made frozen pie crust (dairy free and/or gluten free if needed) or your own homemade if you prefer
coco cream (optional)
Instructions
Preheat the oven to 375 degrees. Melt the butter in a medium sauce pan over medium low heat.
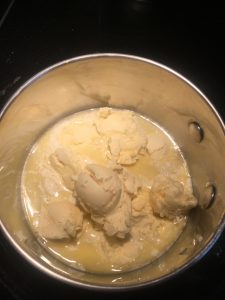
After it has melted, add the chocolate. I like to use the mini chips as they melt very quickly.
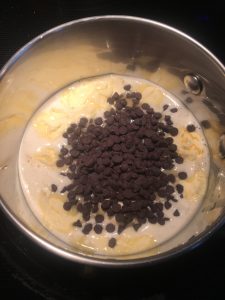
Keep stirring gently, until both the chocolate and butter have melted. Stir in 1 cup of sugar.
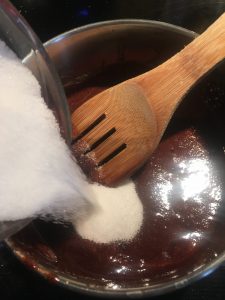
At this point, remove the pan from the heat. Add the eggs and whisk the mixture until it is blended.
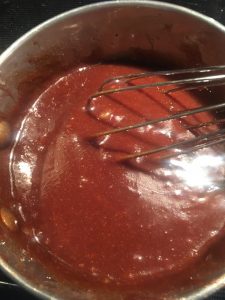
Pour the mixture into your pie crust. If you are using a frozen pie crust, there is no need to thaw it. I usually pull mine out of the freezer as I gather the rest of the ingredients together.
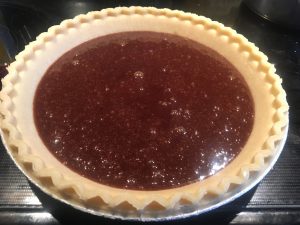
Place your pie in the middle of the oven, directly on the rack. Reduce the heat to 350 degrees. Bake it for 25 minutes. When you pull it out of the oven, the top will be just set and it might jiggle a little under the top. That is okay, that will solidify as it cools.
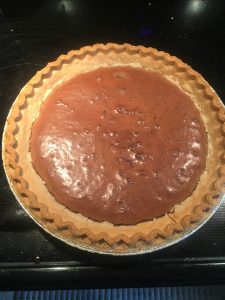
Let it cool completely on the counter for about an hour. Then refrigerate it for about 3 hours until it is firm. Then it is ready to eat. I must admit, however, that we have eaten it many times after it cooled on the counter. the pieces will be gooey but it is oh-so-good! But, if you would like your pieces to be intact, let it cool in the fridge then serve it up with a dollop of coco cream and some fresh raspberries if you like.

You can also eat it plain if you prefer. Or, you can grab a fork eat it straight out of the pan!


